Valentine’s Day Skin Care

Valentine's Day Skin Care

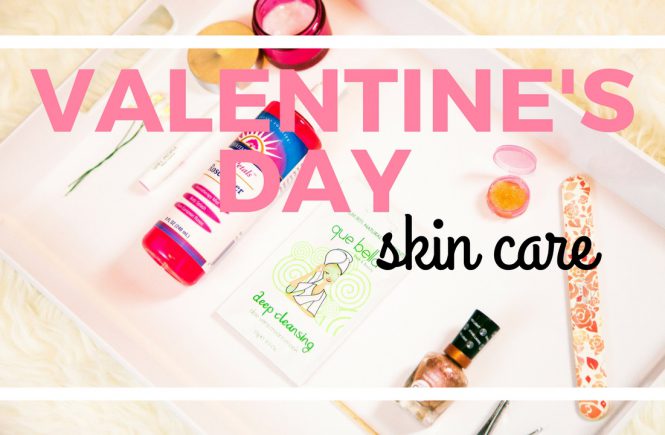
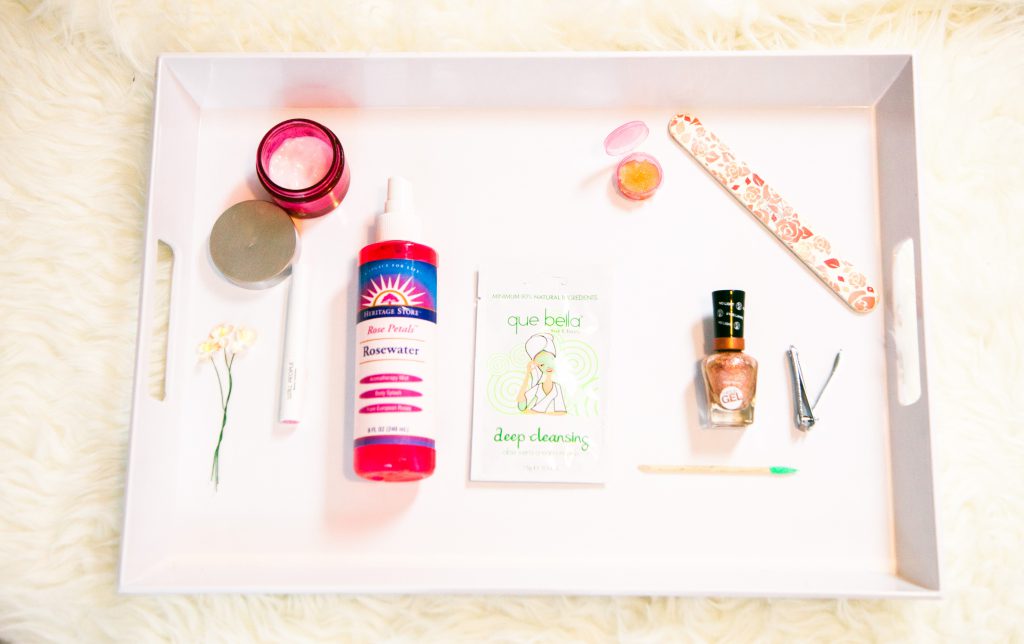
Valentine’s Day is the perfect time to  show a little love and treat yourself. Whether you are trying to impress a date or just wanting to pamper yourself, this 30 minute regiment will get your skin glowing in no time! Feel free to shop the links provided for some of my favorite skincare secrets.

skincare, natural , green beauty, makeup

Start off the night before with a relaxing bath to open up your pores, maybe have a glass of wine or a calming cup of tea.

Valentine's Day, skincare, makeup, Green beauty

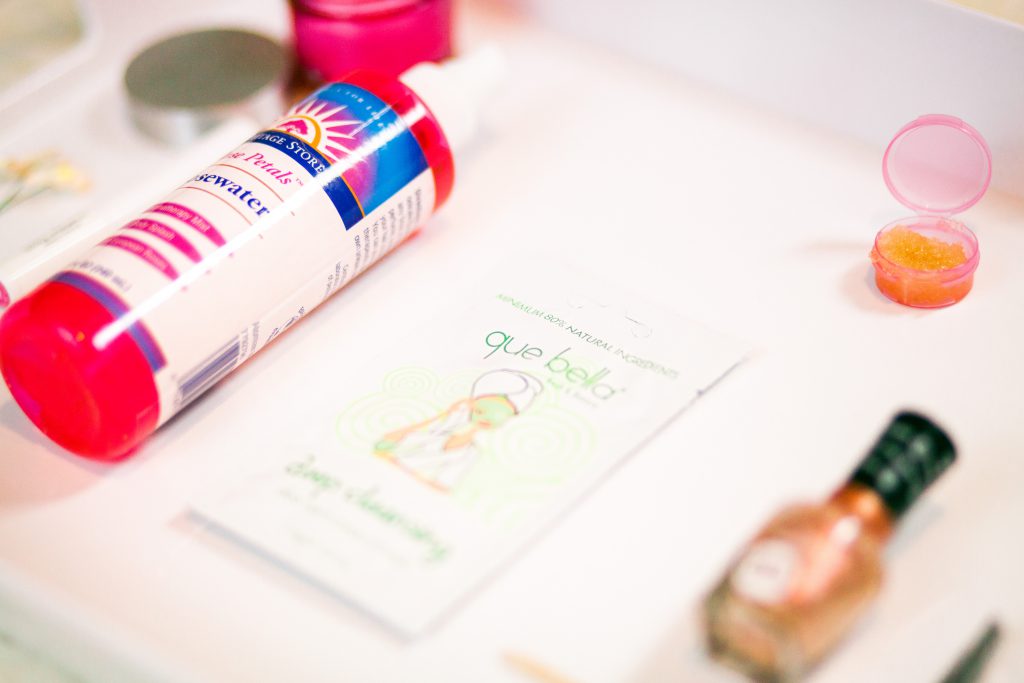
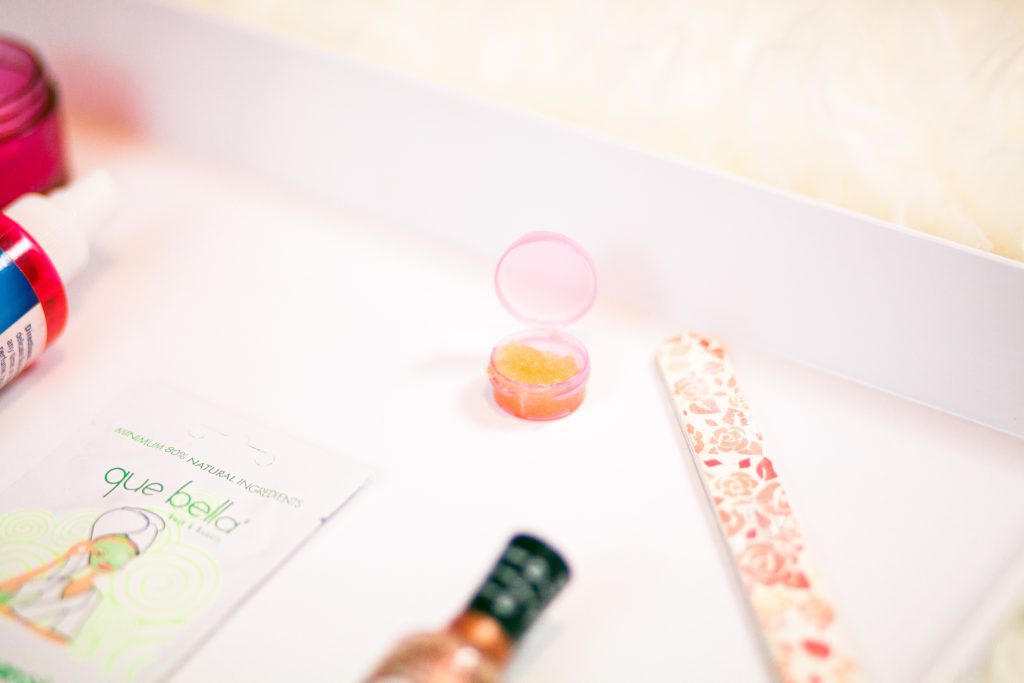
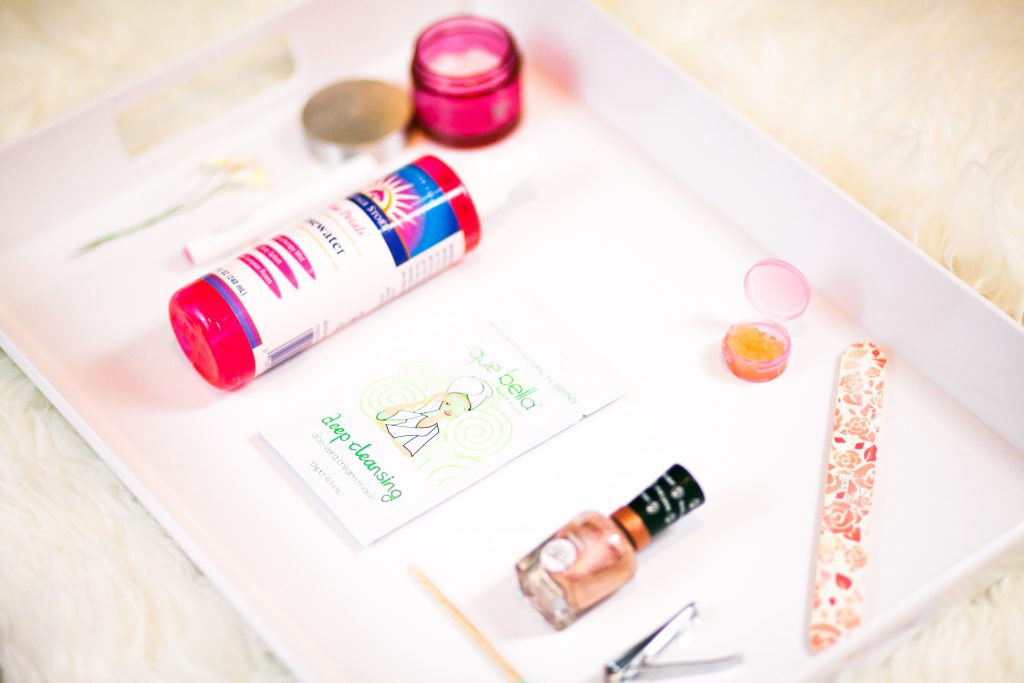
Before you slip into the tub, take a cleansing or pore-minimizing mask and tap in an upward motion onto your entire face or t-zone if you have sensitive skin.  This will not only help clean out your pores but also stimulate the blood flow for a natural flush.

rose, makeup , skincare, green beauty

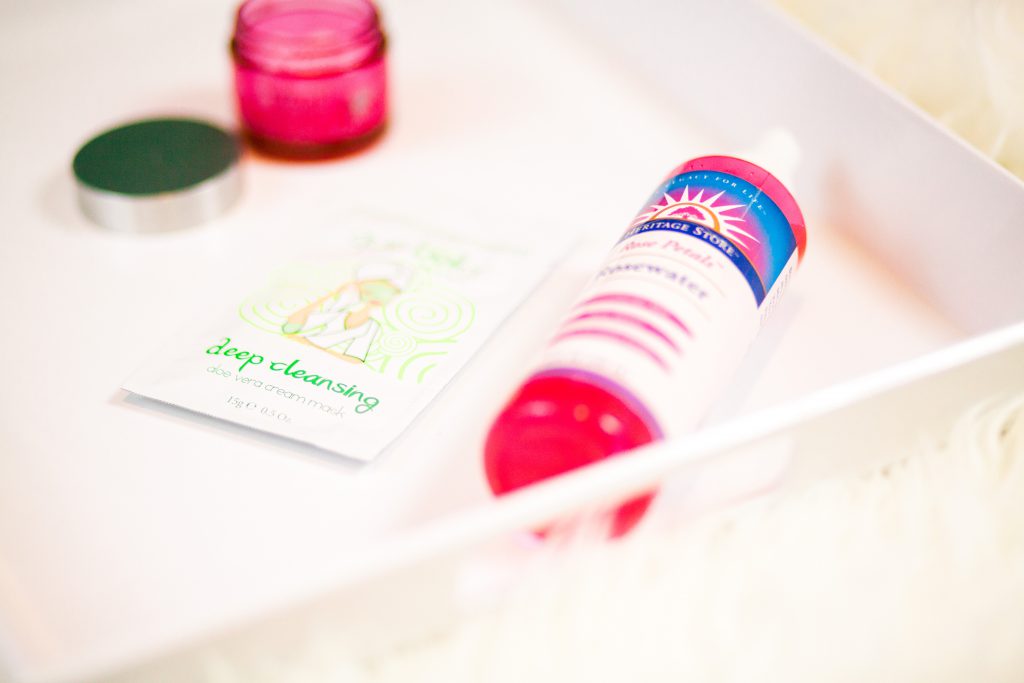
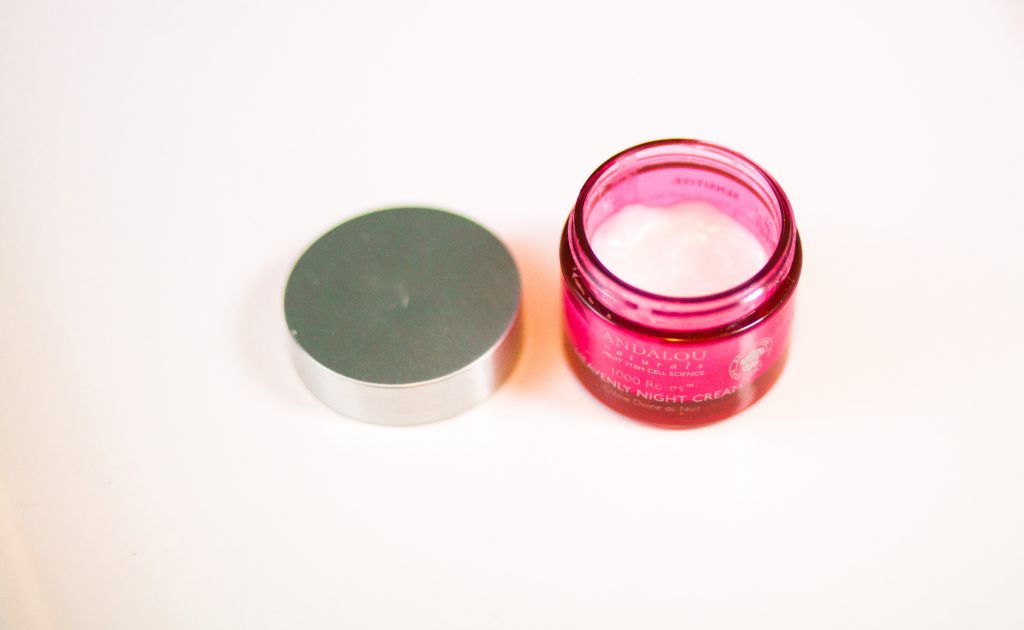
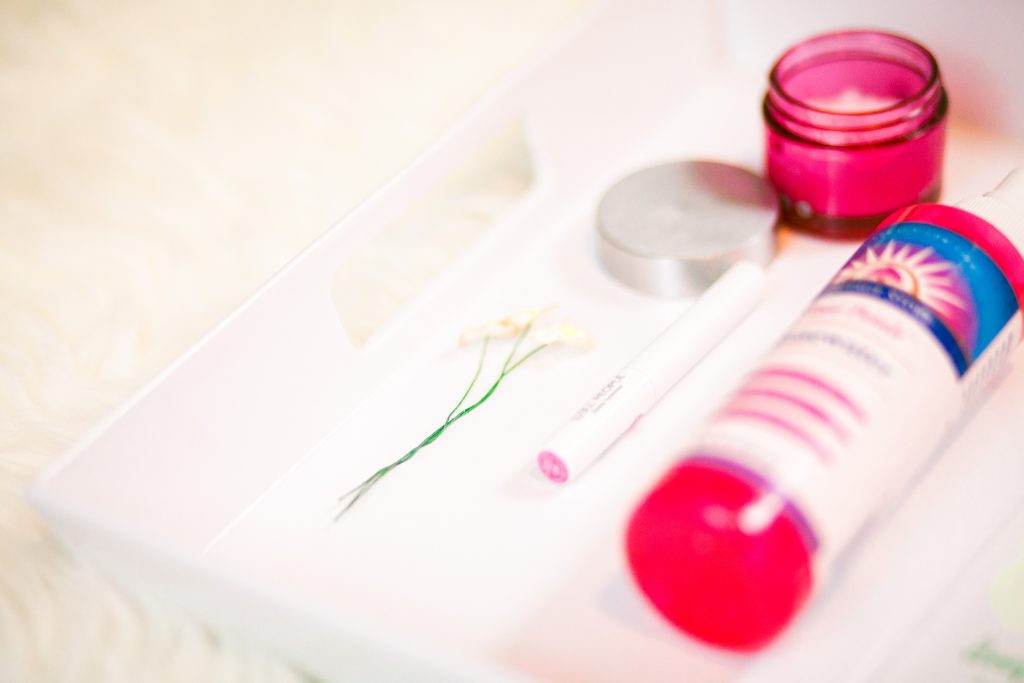
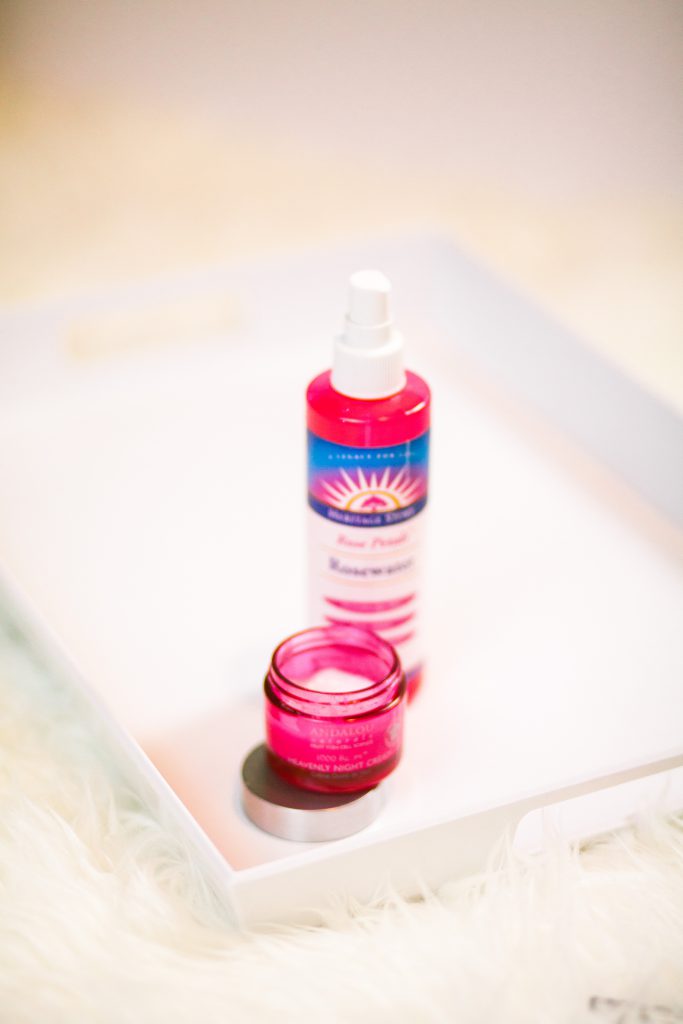
Once your mask is cleaned off, it’s time to moisturize. This Heavenly Night Cream 1000 Roses by Andalou Natural’s has plant stem cells and hydraulic acid to achieve that stunning glow in your sleep. Not to mention it has the most romantic name ever!

rose, natural, skincare, green beauty

Nothing says “treat” to me like bathing in my favorite scent.  I always use a spritz of rose water to lock in the moisture and add to the aromatherapy aspect of the evening.

Natural, skincare, makeup, green beauty

rose, natural, skincare, green beauty,

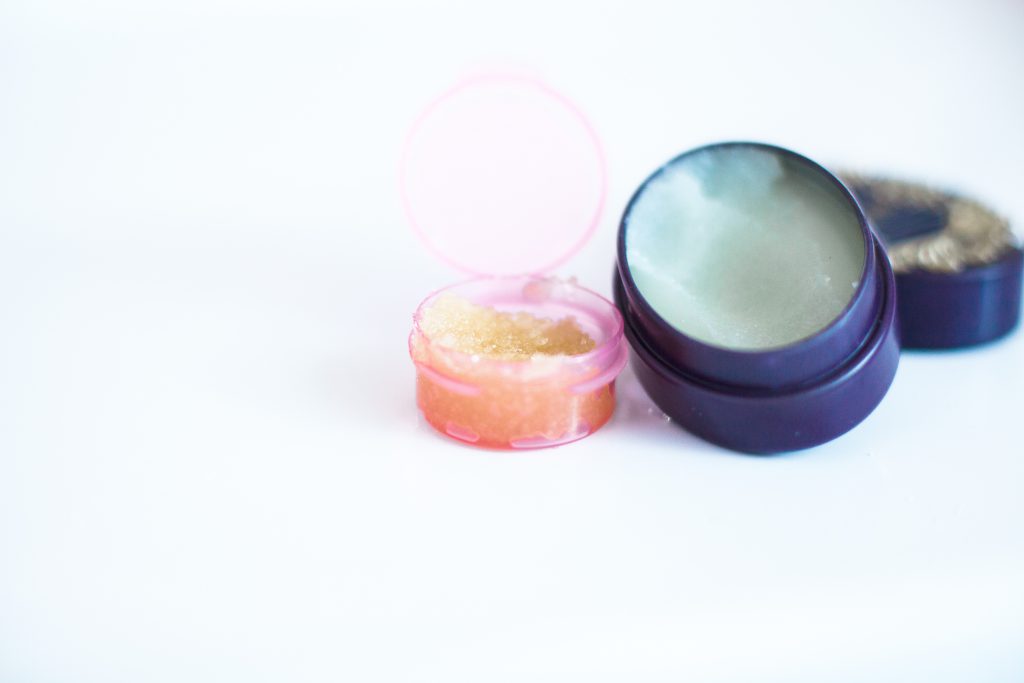
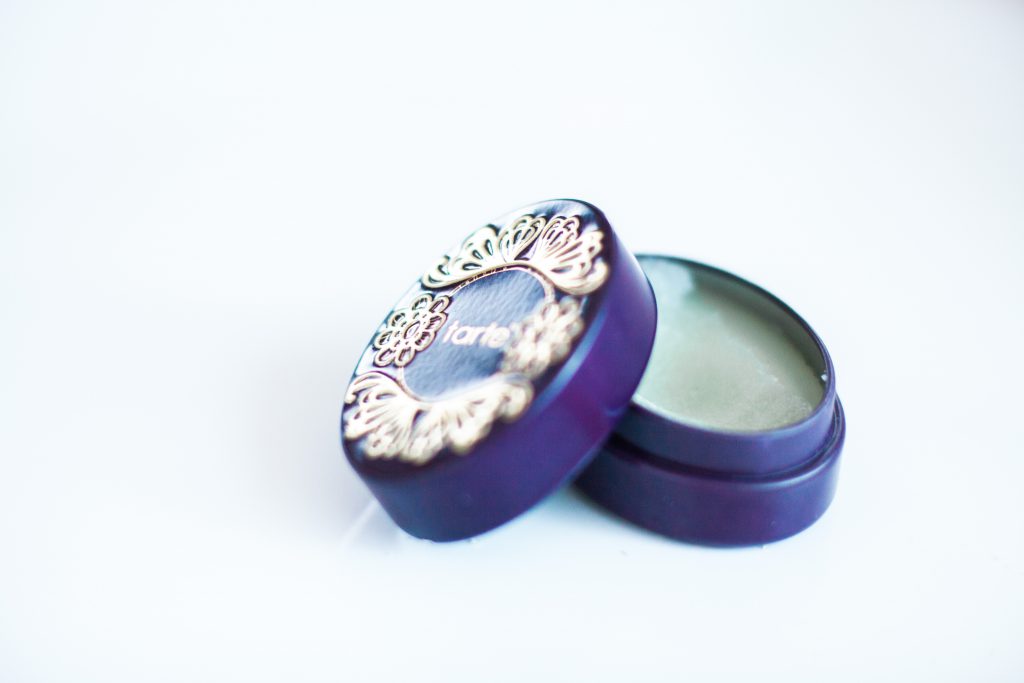
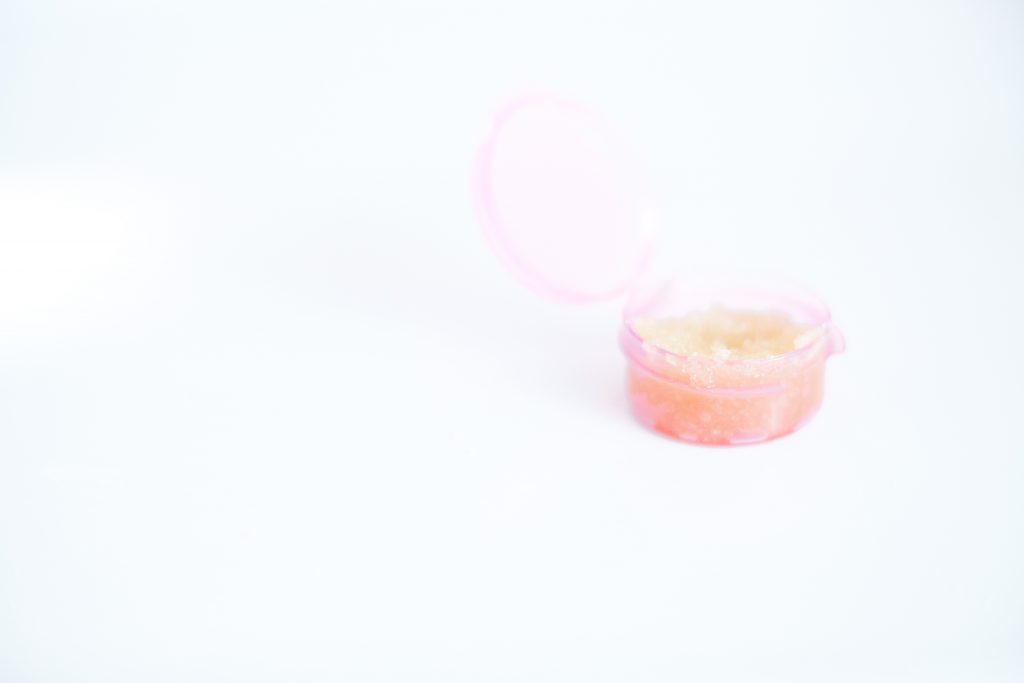
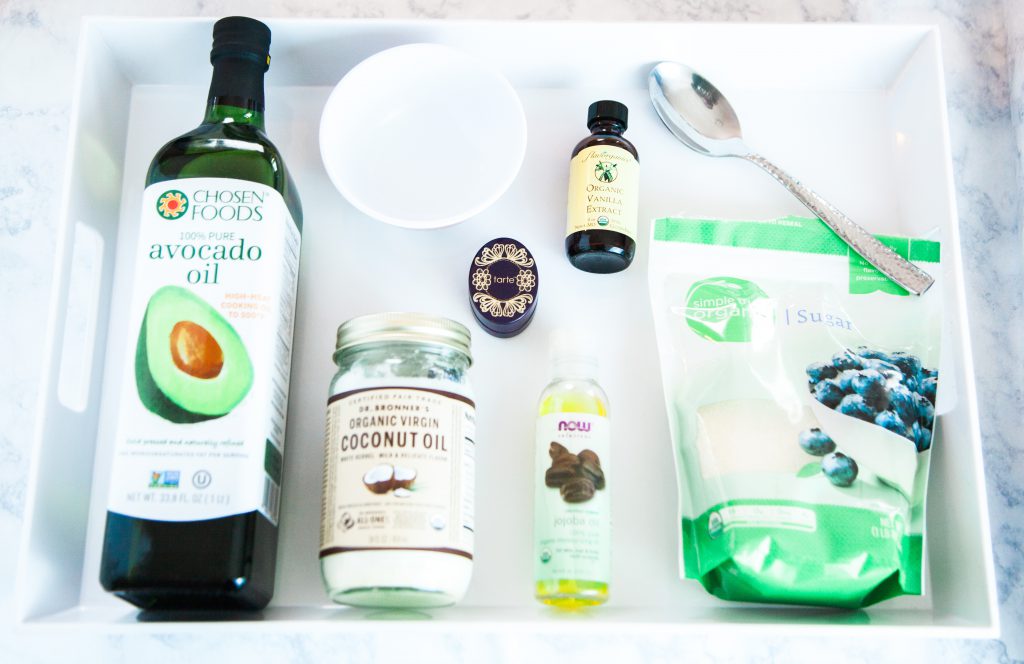
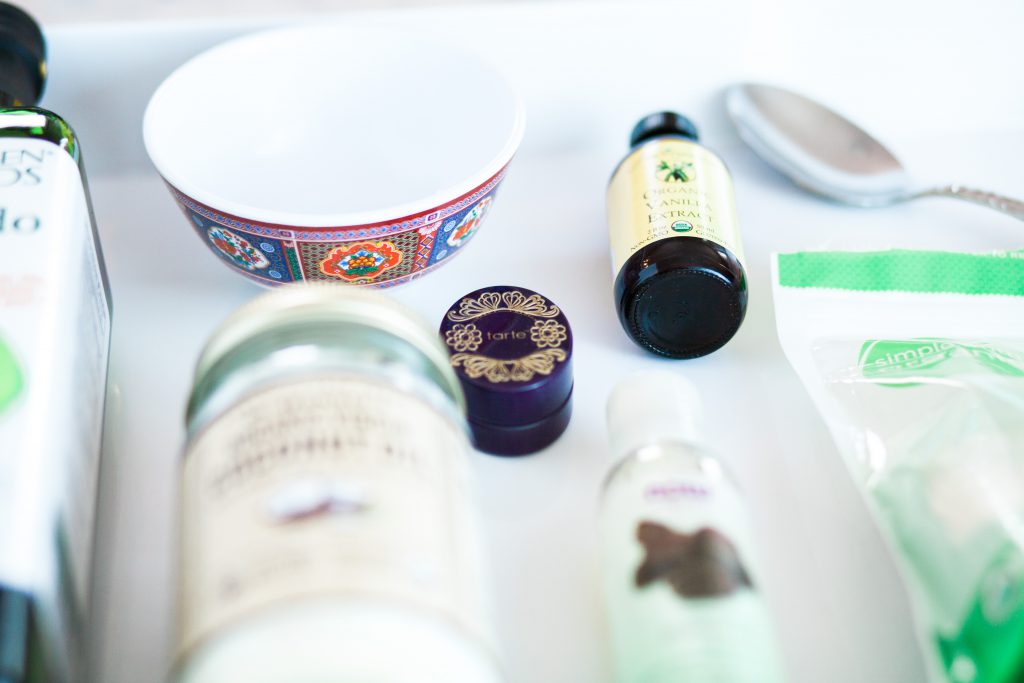
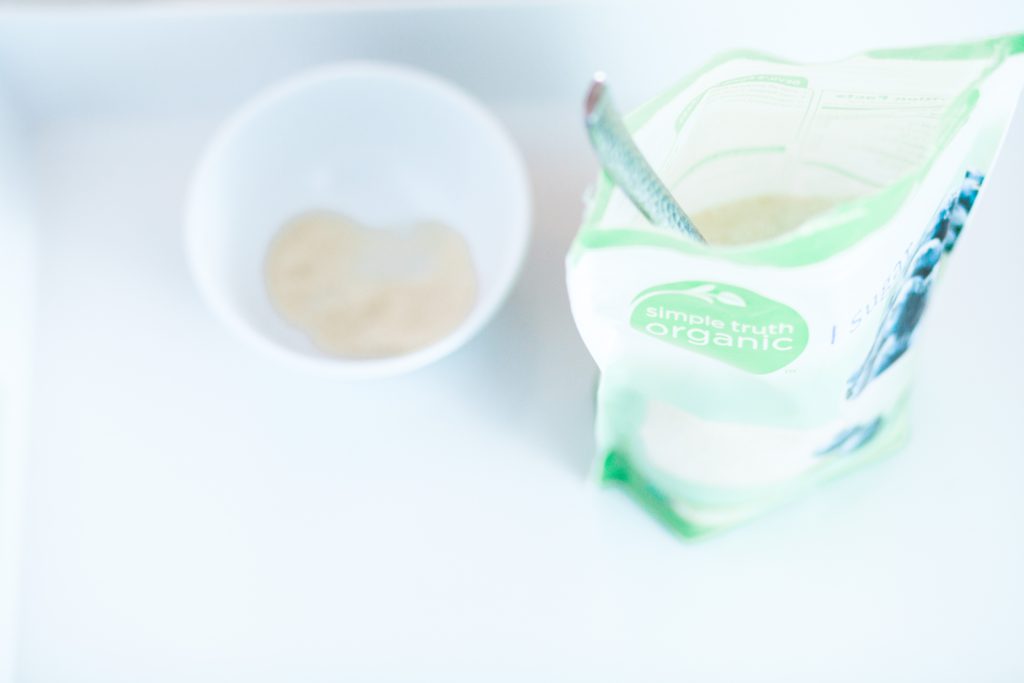
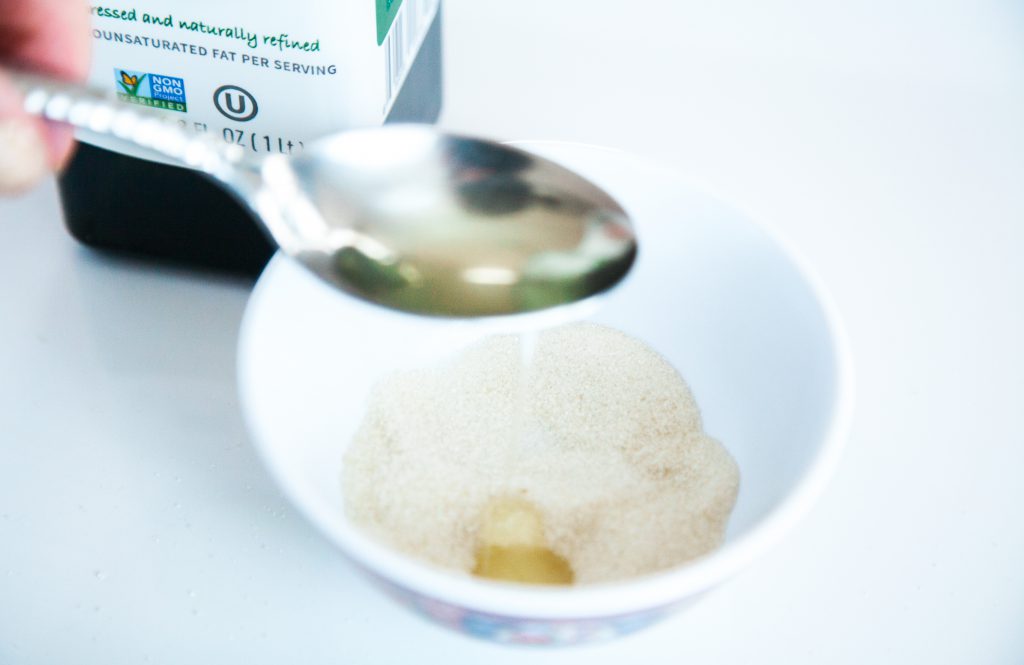
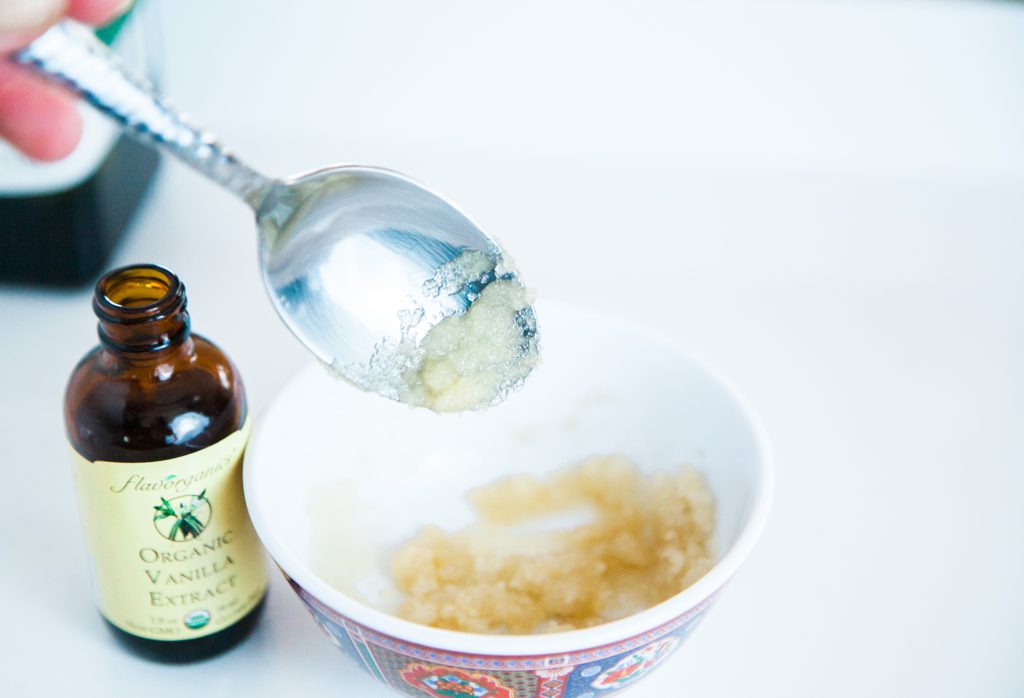
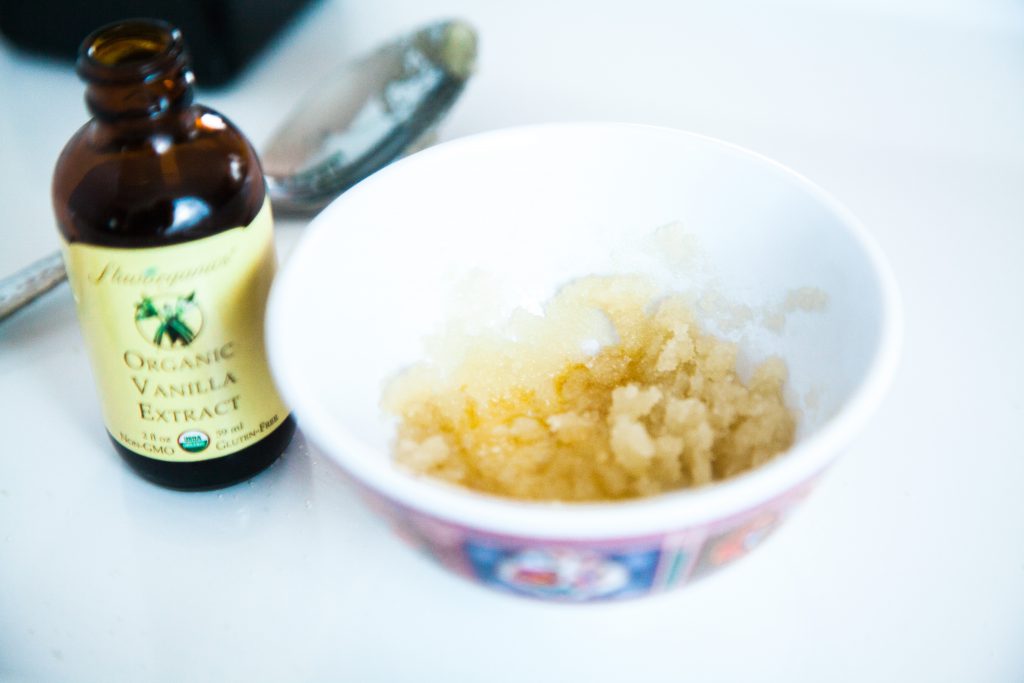
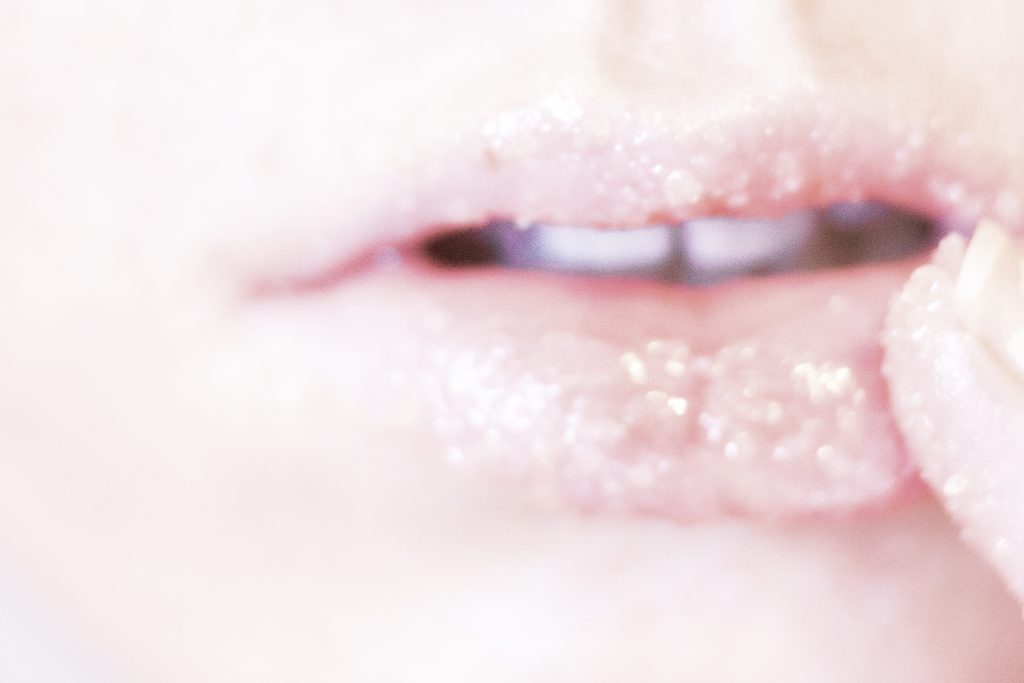
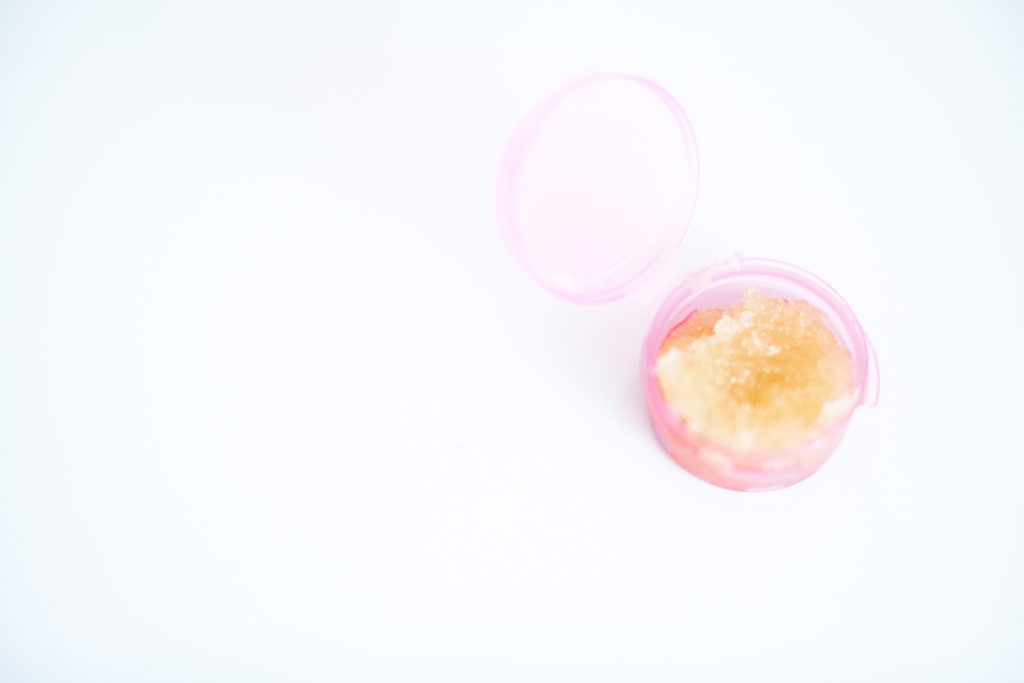
Time to top off the pout with a lip mask. One of my favorites is the Tarte Lip Exfoliant, but for a DIY version, check out my recipe post!

Valentine's Day, skincare, green beauty, natural

natural, skincare, green beauty, makeup

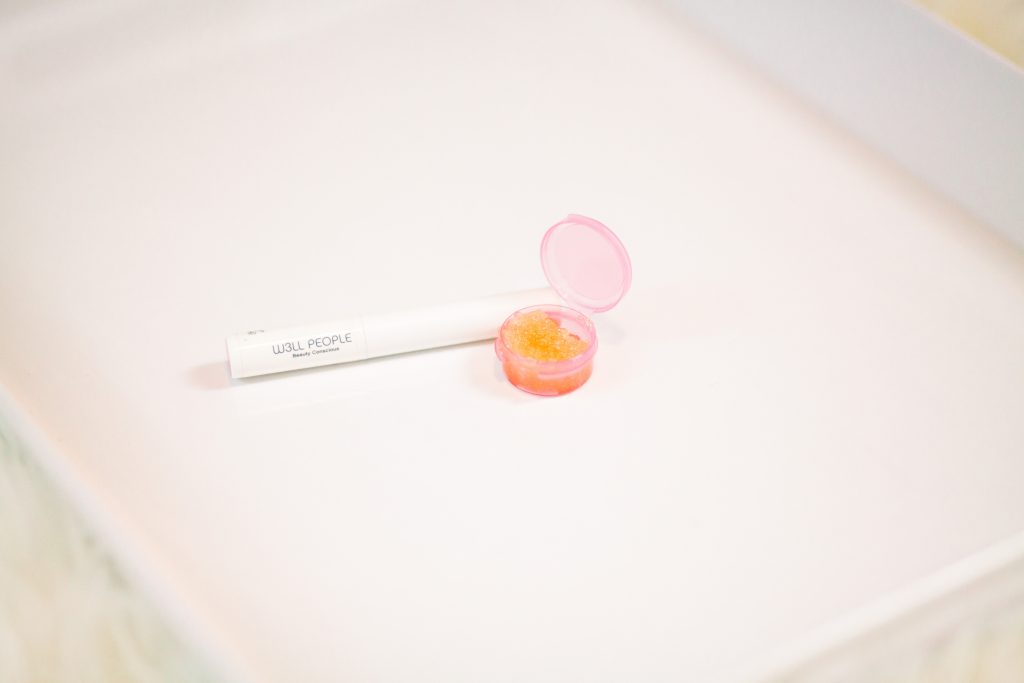
For a little touch of rosy color with all the goodness of a lip balm, I swipe on the Nudist Colour Balm in shade number 8 by Well People.

natural, skincare, green beauty, valentine's Day

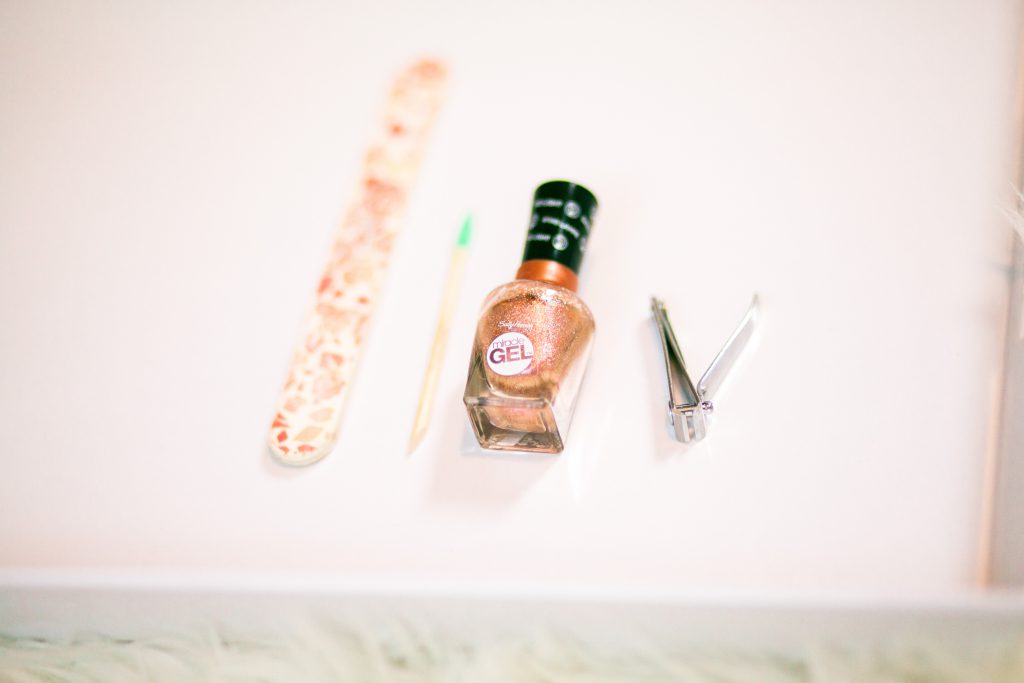
For the final touch don’t forget your nails. Since they are softened from the soak in the tub it’s time to manicure those hands.

skincare, Valentine's Day, natural, green beauty

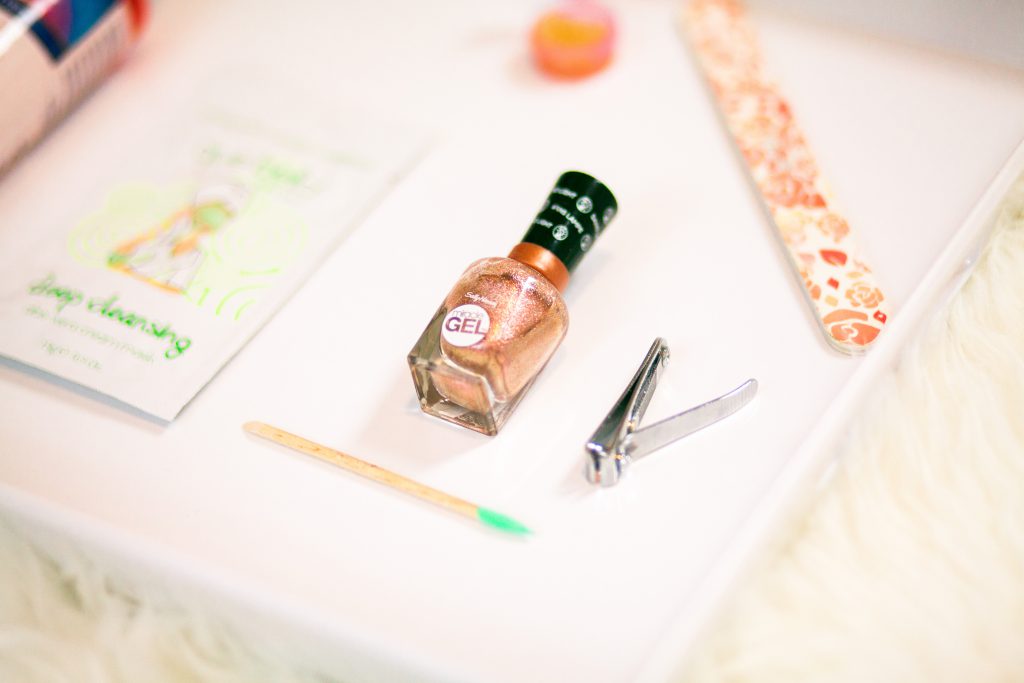
Buff them into your desired shape with a nail file and top with a classy rose gold nail polish. Terra-Coppa by Sally Hansen is my go to polish for an all night wear.

natural, skincare, rose gold

Now let all those good for you ingredients sink into your skin over night and wake up refreshed and ready to crush your Valentine’s Day!

Valentine's Day, makeup, green beauty, skincare

xoxo,
Hepburn Hippie


Continue Reading

DIY-Tarte Lip Scrub Dupe

diy, dupe, tarte,

Winter is the season of wind-whipped and chapped lips.

diy-lip-scrub-1014

One of my favorite lip scrubs is by Tarte.  It works great but it is definitely on the pricey side.

diy-lip-scrub-1016

Here is a DIY version that I have used for years when I was on a budget or didn’t need a travel-ready lip scrub.

diy-lip-scrub-1001

This dupe is super affordable, non-toxic, and takes less than 10 minutes! It is such an easy way to pamper yourself!

diy-lip-scrub-1003

Ingredients

  • Sugar
  • jojoba, coconut or Avocado Oil
  • Vanilla Extract
  • Mixing Bowl
  • Spoon

That is it.

diy. lip scrub, tarte, dupe

Step 1) In a small bowl, scoop in two tablespoons of sugar

diy-lip-scrub-1006

diy-lip-scrub-1008

Step 2) Add to the sugar: 2 tablespoons of your oil of choice (I used avocado). The texture should be a thick paste.

diy-lip-scrub-1009

Step 3) Spoon in about 3 drops of Vanilla extract (if you wanted a minty version, use diluted peppermint essential oil or peppermint extract!)

diy-lip-scrub-1013

diy-lip-scrub-1012

Step 4) Give it a quick mix and scrub onto your lips for a quick refresher to remove dried skin and moisturize those kissable lips!

diy-lip-scrub-1020

IMG_0128

Step 5) This recipe makes two scrubs, so  you can store the extra scrub in a small container in the fridge for a few days or share it with a friend

diy-lip-scrub-1002

Don’t let the cold weather get you down, just top with your favorite natural chap stick and you are ready to go!

diy-lip-scrub-1015


xoxo,
Hepburn Hippie


Continue Reading

DIY: Christmas/Holiday Wreath (Up-cycle)

up-cycle ,diy, holiday

holiday, DIY, up-cycle , wreath

I am not a big fan of winter. Okay…. to be honest, there isn’t much I can stand about the season, at all. One of the few things that brings me joy about the season, though, is that I get an excuse to spruce up my decor by going festive.

holiday, DIY, up-cycle , wreath

holiday, DIY, up-cycle , wreath

Now, I have never been into the traditional red and green aesthetic (not to knock you if you are a classic Christmas kind of girl/guy). White, light pink, gold, etc, have always been more of my style–not quite as flashy and if I “accidentally” leave it up till, say, June…it can kinda pass as non-holiday decor.

holiday, DIY, up-cycle , wreath

So, in the spirit of winter wonderland-ness, I am going to up-cycle a plain, inexpensive wreath, with items from around my home, to give it a more glam-holiday vibe. So… here we go!

img_9760

holiday, DIY, up-cycle , wreath

holiday, DIY, up-cycle , wreath

Supplies

  • Wreath
  • Glue Gun
  • Twine
  • Spray Paint
  • Pine Cones or other nature inspired items ( I used some old potpourri )
  • Ribbon (with wire)
  • Any cute Christmas-y items that you aren’t using to their fullest potential!

holiday, DIY, up-cycle , wreath

Step 1) Cover your table or floor with some old newspaper, etc. to keep things tidy.

holiday, DIY, up-cycle , wreath

Step 2) Remove existing tags and ribbons that don’t go with your theme.

holiday, DIY, up-cycle , wreath

holiday, DIY, up-cycle , wreath

Step 3) Wrap your wreath in thin ribbon or twine (for a more rustic look).

holiday, DIY, up-cycle , wreath

holiday, DIY, up-cycle , wreath

Step 4) Flip wreath over and tie or glue ribbon ends to keep snug.

holiday, DIY, up-cycle , wreath

holiday, DIY, up-cycle , wreath

Step 5) Spray paint your decorations (I used silver because I had an old can lying around and I like that “mottled” look, but I think white “snow ” would be super cute!).

holiday, DIY, up-cycle , wreath

holiday, DIY, up-cycle , wreath

Step 6) Cut your ribbon into a bow shape and glue together the “bow” and the “tail” ribbons.

holiday, DIY, up-cycle , wreath

holiday, DIY, up-cycle , wreath

Step 7) Glue your bow on top of the wreath.

holiday, DIY, up-cycle , wreath

Step 8) Place your painted decorations evenly around the wreath and secure with glue.

holiday, DIY, up-cycle , wreath

diy , wreath, holiday


Step 9) Step back and marvel at your DIY creation and place it on your front door or an empty wall space!

holiday, DIY, up-cycle , wreath

holiday, DIY, up-cycle , wreath

Continue Reading