


I am not a big fan of winter. Okay…. to be honest, there isn’t much I can stand about the season, at all. One of the few things that brings me joy about the season, though, is that I get an excuse to spruce up my decor by going festive.


Now, I have never been into the traditional red and green aesthetic (not to knock you if you are a classic Christmas kind of girl/guy). White, light pink, gold, etc, have always been more of my style–not quite as flashy and if I “accidentally” leave it up till, say, June…it can kinda pass as non-holiday decor.

So, in the spirit of winter wonderland-ness, I am going to up-cycle a plain, inexpensive wreath, with items from around my home, to give it a more glam-holiday vibe. So… here we go!


Supplies
- Wreath
- Glue Gun
- Twine
- Spray Paint
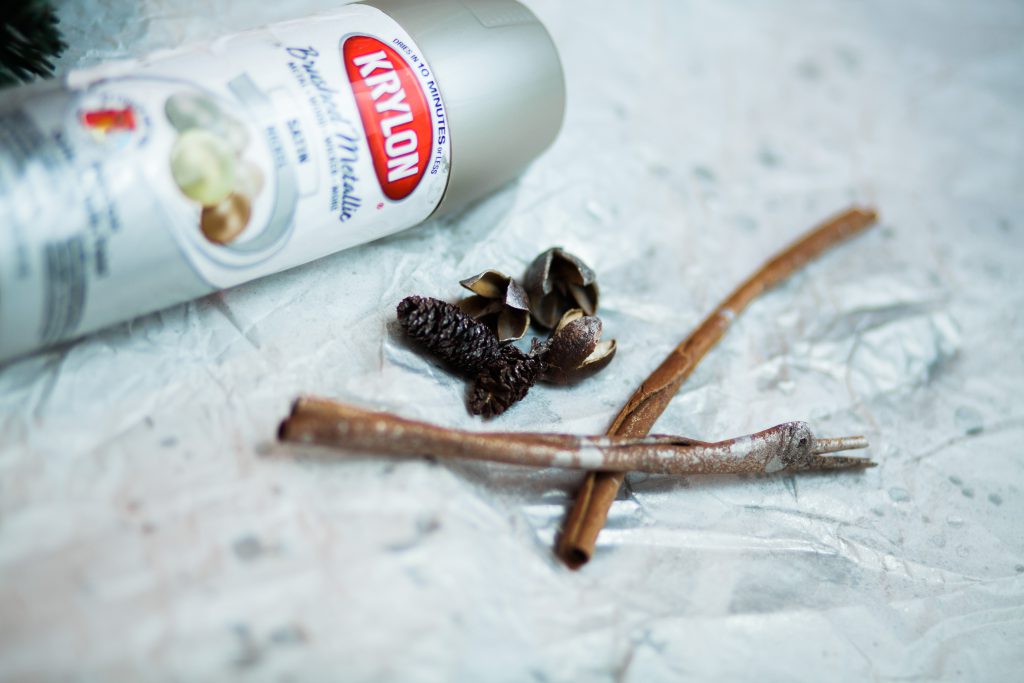
- Pine Cones or other nature inspired items ( I used some old potpourri )
- Ribbon (with wire)
- Any cute Christmas-y items that you aren’t using to their fullest potential!
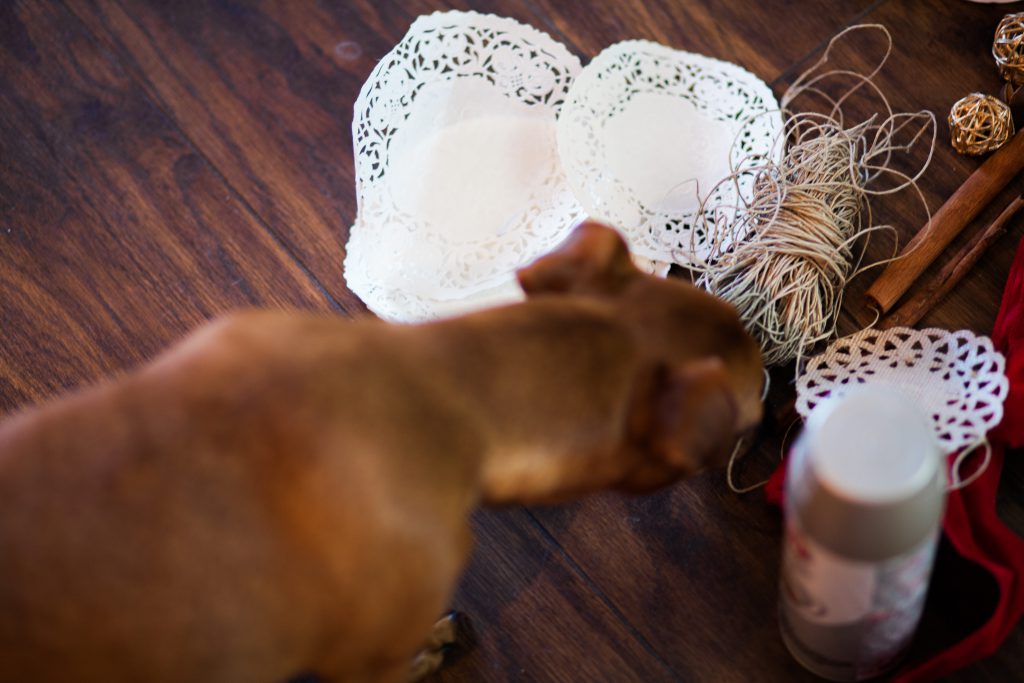
Step 1) Cover your table or floor with some old newspaper, etc. to keep things tidy.

Step 2) Remove existing tags and ribbons that don’t go with your theme.

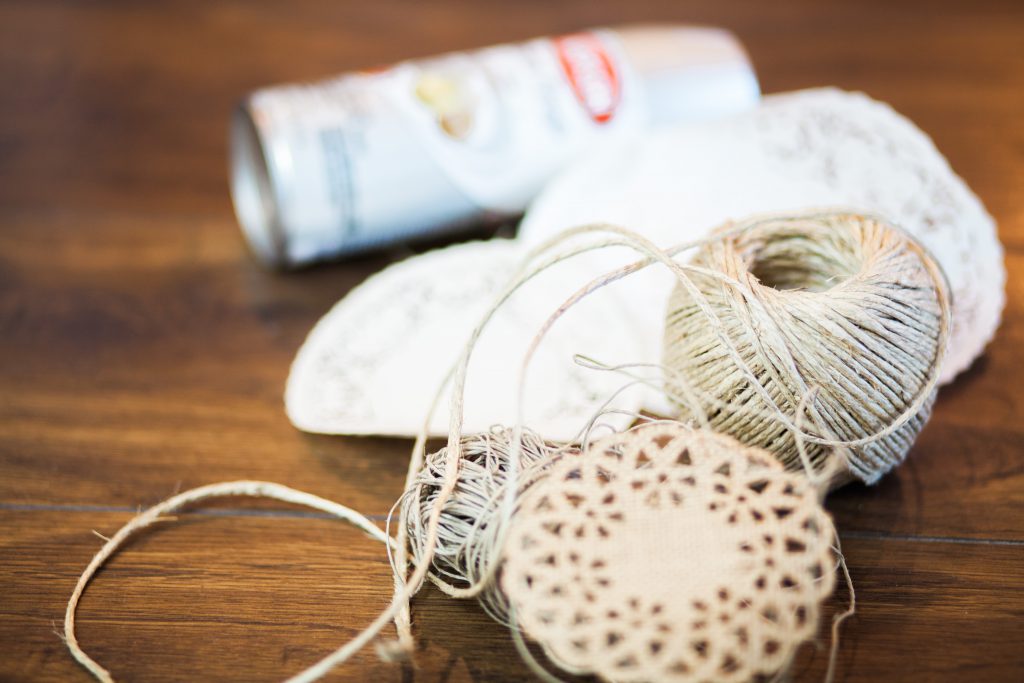
Step 3) Wrap your wreath in thin ribbon or twine (for a more rustic look).


Step 4) Flip wreath over and tie or glue ribbon ends to keep snug.


Step 5) Spray paint your decorations (I used silver because I had an old can lying around and I like that “mottled” look, but I think white “snow ” would be super cute!).

Step 6) Cut your ribbon into a bow shape and glue together the “bow” and the “tail” ribbons.


Step 7) Glue your bow on top of the wreath.

Step 8) Place your painted decorations evenly around the wreath and secure with glue.


Step 9) Step back and marvel at your DIY creation and place it on your front door or an empty wall space!